Crafting the Buttermilk Oven Fried Chicken was a delightful culinary adventure that brought the comfort and taste of fried chicken into a healthier, oven-baked form. This recipe combines the tanginess of buttermilk with the warmth of spices like chili garlic and paprika, creating a flavorful crust that’s irresistibly crunchy on the outside and tender and juicy on the inside. The process of double-dipping the chicken pieces in the buttermilk mixture and then in the seasoned flour ensures that each bite is perfectly coated and seasoned. Baking the chicken instead of frying it not only makes it a healthier option but also reduces the mess and effort involved in traditional frying. As the chicken baked to a golden brown perfection, the aroma of spices filled the kitchen, promising a delicious meal ahead. This Buttermilk Oven Fried Chicken recipe is a must-try for anyone who loves the classic taste of fried chicken but prefers a lighter version.
Ingredients
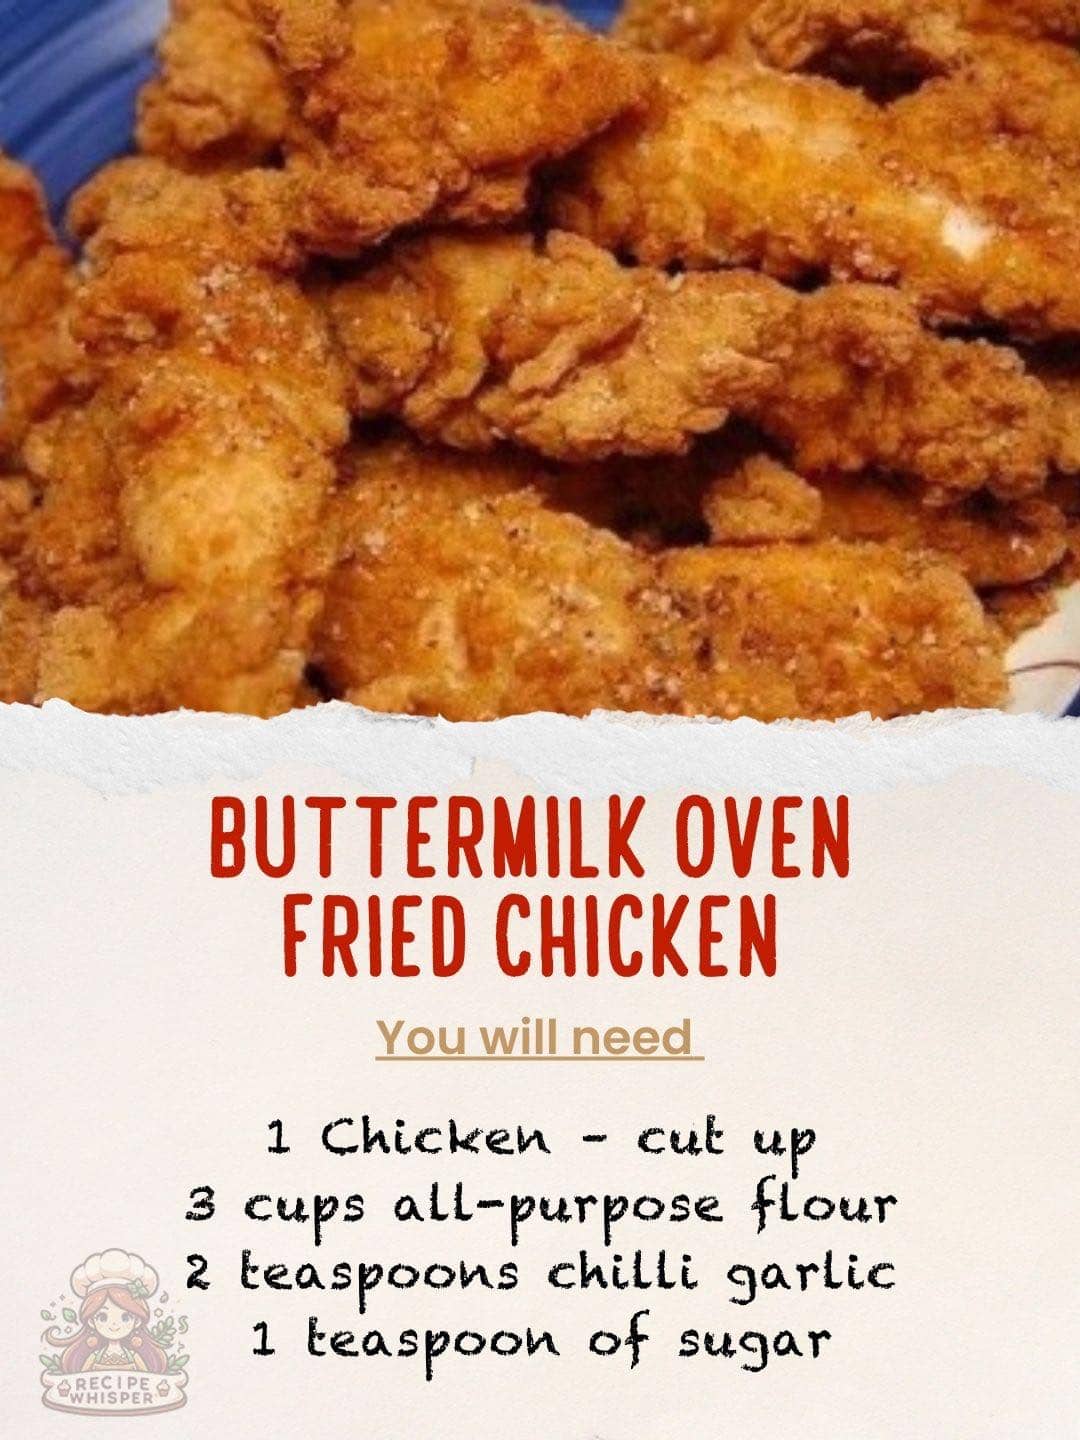
- 1 Chicken, cut up
- 3 cups all-purpose flour
- 2 teaspoons chili garlic powder
- 1 teaspoon sugar
- 2 teaspoons paprika
- 1 cup buttermilk
- 2 eggs
- 1 teaspoon baking powder
- 3/4 teaspoon baking soda
- Olive oil for drizzling
How To Make Buttermilk Oven Fried Chicken
- Preheat the Oven: Start by preheating your oven to 400°F (204°C). This ensures a hot oven ready for baking your chicken to crispy perfection.
- Prepare the Flour Mixture: In a baking dish or large bowl, mix together the flour, chili garlic powder, sugar, and paprika until well combined.
- Mix Buttermilk and Eggs: In a medium bowl, whisk together the buttermilk, eggs, baking powder, and baking soda until the mixture is smooth and uniform.
- Coat the Chicken: Dip each piece of chicken into the buttermilk mixture, allowing the excess to drip off. Then, roll the chicken in the flour mixture to coat evenly. For an extra crispy crust, dip the floured chicken back into the buttermilk mixture and then into the flour mixture again.
- Bake: Arrange the coated chicken pieces on a baking sheet and drizzle them with olive oil. This will help achieve a crispy, golden brown finish.
- Baking Time: Place the chicken in the preheated oven and bake for about 50 to 55 minutes, or until the chicken is thoroughly cooked and the exterior is golden brown and crispy.
- Serve: Allow the chicken to cool slightly before serving. Enjoy the crispy, flavorful chicken with your favorite sides.
Nutrition Facts
Servings: Depends on the size of the chicken Calories per serving: Approximately 300-400 calories (Varies based on the chicken parts used and serving sizes)
Preparation Time
- Prep Time: 15 minutes
- Cook Time: 50-55 minutes
- Total Time: 65-70 minutes
Additional Tips
- Ensure your chicken is thoroughly dried before dipping in the buttermilk for the coating to adhere better.
- For an even crispier crust, let the coated chicken sit on a wire rack for 10 minutes before baking.
- Feel free to adjust the level of spices according to your taste preferences.
FAQ Section
- Can I use chicken breasts instead of a whole chicken? Absolutely, chicken breasts can be used, just adjust the cooking time as they might cook faster than a whole chicken.
- Is there a substitute for buttermilk? If you don’t have buttermilk, you can make a quick substitute by adding 1 tablespoon of lemon juice or white vinegar to a cup of regular milk and letting it sit for 5 minutes.
- Can I add other spices to the flour mixture? Yes, feel free to experiment with other spices like onion powder, cumin, or cayenne pepper for different flavors.
- How do I know when the chicken is done? The chicken is done when its internal temperature reaches 165°F (74°C) when tested with a meat thermometer.
- Can I make this recipe gluten-free? For a gluten-free version, substitute the all-purpose flour with a gluten-free flour blend.