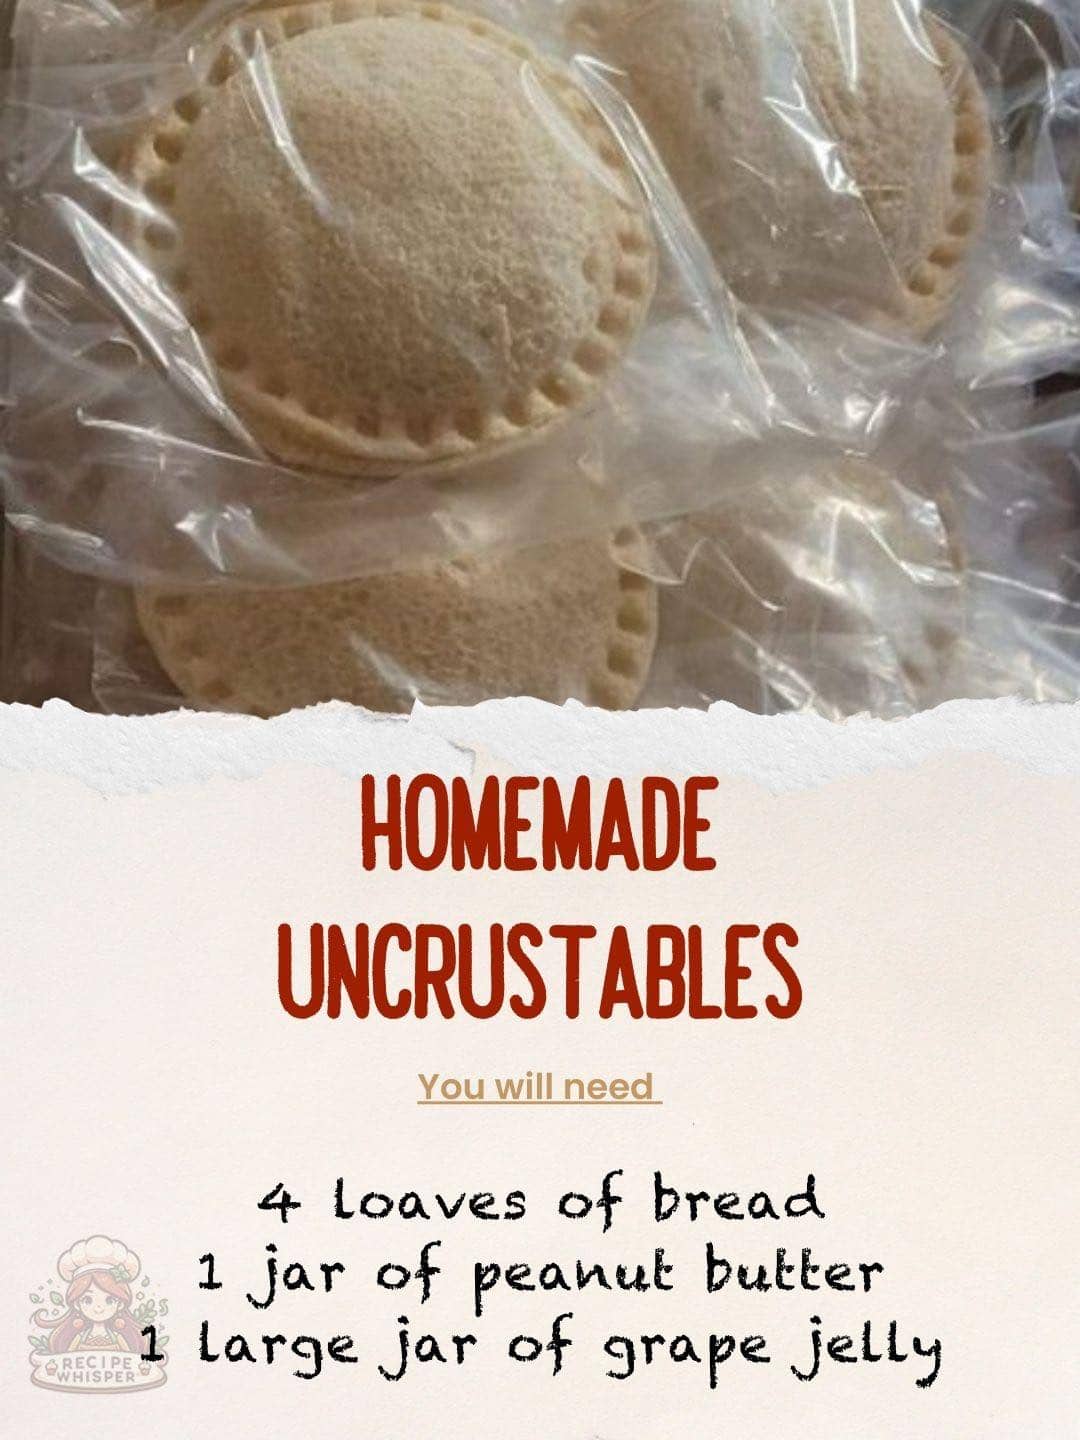
The art of creating the perfect snack or quick meal often leads us back to the classics, and what could be more classic than a peanut butter and jelly sandwich? However, when I embarked on the journey of making Homemade Uncrustables, it was with the intention of transforming this timeless snack into something even more convenient and enjoyable. The result was a delightful success, offering the nostalgic taste of peanut butter and jelly in a fun, crustless form that’s perfect for lunches, snacks, or any time a quick bite is needed. This homemade version not only brought back memories of childhood lunches but also added a touch of personalization and freshness that store-bought versions simply can’t match. My family loved the ease and novelty of these DIY Uncrustables, making them a new favorite in our home for both young and old alike.
Ingredients
- 4 loaves of bread (your choice of white, whole wheat, etc.)
- 1 jar of peanut butter
- 1 large jar of grape jelly
Instructions
- Prepare your workspace by laying out a sheet of wax paper or parchment paper on a clean surface. This helps with easy cleanup and prevents sticking.
- Spread the peanut butter on one side of each slice of bread. Aim for an even layer to ensure every bite has a good balance of flavors.
- Add grape jelly to one of the peanut butter-covered slices. Again, strive for even distribution to avoid any jelly-less bites.
- Combine the slices by pressing the two slices together, with the peanut butter and jelly sides facing inward.
- Form the Uncrustables using a round cookie cutter or the rim of a glass to cut the sandwiches into circular shapes, effectively removing the crust and sealing the edges.
- Repeat the process with the remaining bread, peanut butter, and jelly until you’ve prepared the desired number of sandwiches.
Preparation Tips
- For a tighter seal, press the edges of the sandwiches with a fork after cutting them into circular shapes.
- Variety is key: Feel free to experiment with different types of jelly, such as strawberry or raspberry, or use almond butter or hazelnut spread as alternatives to peanut butter.
- Storage solutions: These homemade Uncrustables can be stored in an airtight container in the refrigerator for up to a week or frozen for longer storage. Simply thaw before enjoying.
- Make it a meal by pairing your Uncrustables with fresh fruit, yogurt, or a glass of milk for a balanced snack or light lunch.
FAQ
- Can I make these with other fillings? Absolutely! Feel free to get creative with fillings like Nutella, honey, or even savory options like ham and cheese.
- How do I prevent the sandwiches from becoming soggy? A thin layer of peanut butter on both slices before adding the jelly can act as a barrier to prevent sogginess.
- Can these be made gluten-free? Yes, use gluten-free bread to make your Uncrustables suitable for those with gluten sensitivities.
- Is there a way to make the edges stick together better? After cutting, press the edges firmly with a fork to crimp them together, enhancing the seal.
- How long can these be stored in the freezer? When properly stored in a freezer-safe bag or container, they can last for up to 2 months.
- Can I use fresh fruit instead of jelly? Yes, finely chopped or mashed fresh fruit can be a delicious and healthier alternative to jelly.
- What’s the best way to thaw frozen Uncrustables? Leave them at room temperature for a few hours or overnight in the refrigerator.
- Can I make these in bulk? Definitely. They’re perfect for meal prep and can be made in large quantities to save time.
- Are there any nut-free alternatives for schools? Use seed butters like sunflower seed butter for a nut-free version that’s safe for school lunches.
- How can I make my Uncrustables healthier? Opt for whole grain bread, natural peanut butter without added sugars or oils, and low-sugar jelly.
Homemade Uncrustables not only provide a fun and convenient twist on a beloved classic but also offer the flexibility to cater to various dietary needs and taste preferences. Whether you’re making a quick snack for the kids, prepping for busy weeks ahead, or simply indulging in a bit of nostalgia, these DIY sandwiches are sure to bring a smile to your face with their simplicity and deliciousness.

