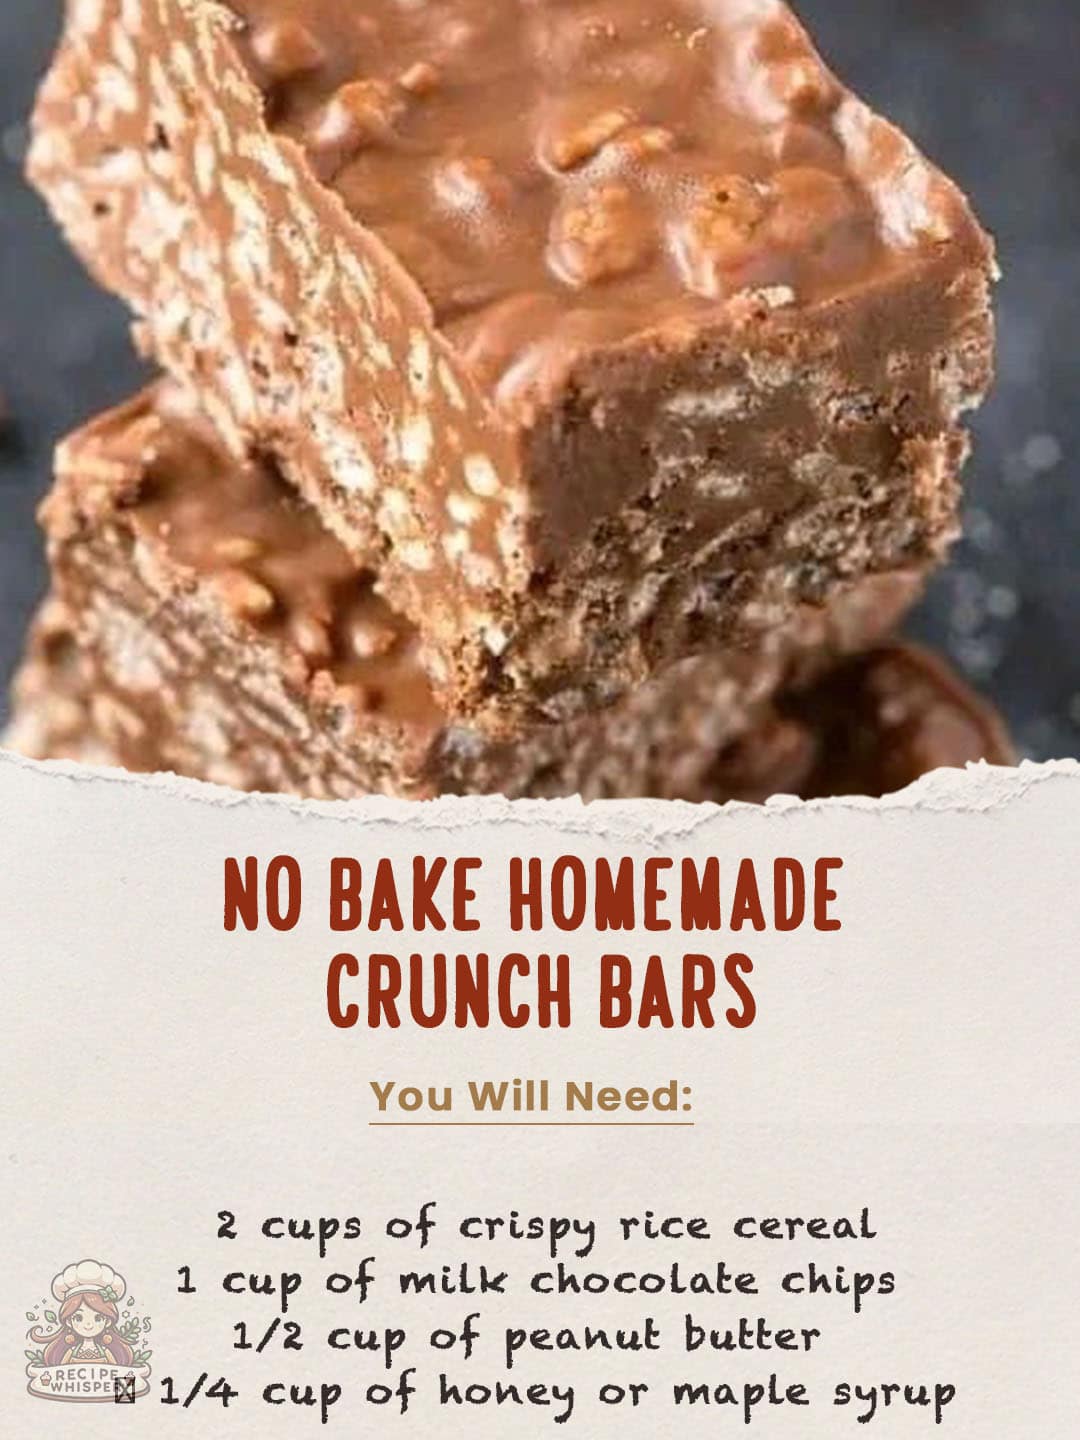
No-Bake Homemade Crunch Bars offer the perfect blend of simplicity, taste, and texture, making them a delightful treat for any chocolate lover. This recipe is a testament to the joy of creating something delicious without even turning on the oven. I recently decided to whip up a batch of these crunch bars, drawn by the allure of combining chocolate, peanut butter, and crispy rice cereal into a no-fuss dessert. The process was incredibly straightforward and the outcome was absolutely scrumptious. These bars emerged as a harmonious blend of creamy and crispy textures, with the rich flavors of chocolate and peanut butter perfectly balanced by the subtle sweetness of honey or maple syrup. They’re an ideal snack for gatherings, a sweet treat for the family, or a simple pleasure to enjoy with a cup of coffee.
Ingredients
- 2 cups of crispy rice cereal
- 1 cup of milk chocolate chips
- 1/2 cup of peanut butter (smooth or crunchy, depending on preference)
- 1/4 cup of honey or maple syrup (for a touch of natural sweetness)
- 1 teaspoon of vanilla extract (to enhance the flavor)
- A pinch of salt (to balance the sweetness)
Instructions
- Prep the Pan: Start by lining an 8-inch square baking pan with parchment paper, ensuring there’s an overhang on the sides for easy removal later.
- Combine Dry Ingredients: In a large mixing bowl, stir together the crispy rice cereal and a pinch of salt.
- Melt the Chocolate Mixture: Melt the milk chocolate chips, peanut butter, and honey or maple syrup. This can be done in a microwave, heating in 30-second intervals and stirring in between, or over a double boiler on the stove for a gentle melt.
- Add Vanilla: Once the mixture is smoothly melted, stir in the vanilla extract.
- Coat the Cereal: Pour the warm chocolate mixture over the crispy rice cereal. Mix gently but thoroughly, ensuring each piece of cereal is coated.
- Press into Pan: Transfer the coated cereal mixture to the prepared baking pan. Press down firmly with a spatula or your hands to compact the mixture into an even layer.
- Chill: Place the pan in the refrigerator and chill for at least 1 hour, or until the mixture is set and firm.
- Cut and Serve: Using the parchment paper overhang, lift the set mixture out of the pan. Cut into squares or bars. Enjoy these delightful crunch bars as they are, or store them in an airtight container in the refrigerator for up to a week.
Additional Tips
- Variations: Feel free to experiment by adding nuts, dried fruit, or a layer of melted chocolate on top for extra decadence.
- Storage: These bars keep well in the fridge, making them a great make-ahead treat for busy weeks.
- Peanut Butter Substitutes: If allergies are a concern, almond butter or sunflower seed butter can be excellent alternatives.
- For a Firmer Texture: For bars that hold up better at room temperature, consider reducing the amount of honey or maple syrup slightly.
FAQ Section
- Can I use dark chocolate instead of milk chocolate?
- Absolutely! Dark chocolate will give a richer, less sweet flavor that contrasts nicely with the honey or maple syrup.
- How can I make these bars vegan?
- Use dairy-free chocolate chips and maple syrup instead of honey to make these bars vegan-friendly.
- Why did my bars come out too soft?
- This could be due to not chilling them long enough. Allow more time in the fridge, or ensure the chocolate mixture isn’t too hot when mixing with the cereal.
- Can these bars be frozen?
- Yes, they freeze well. Wrap them individually and freeze for up to 3 months. Thaw in the refrigerator before enjoying.
- How can I make the bars less sweet?
- Opt for dark chocolate chips and natural peanut butter with no added sugar to reduce the overall sweetness.
No-Bake Homemade Crunch Bars are a delightful treat that combines ease of preparation with delicious results. Whether you’re a seasoned baker or a novice in the kitchen, this recipe promises to deliver a satisfyingly sweet and crispy snack that’s sure to please.

