Making homemade gummies is an adventure that transports you back to childhood, with the added joy of customization and the satisfaction of creating something from scratch. I recently embarked on this gummy-making journey, using this recipe as my guide. Opting for a mix of apple and cherry juice, I aimed for a balance of sweet and tart flavors. The result was a batch of vibrant, chewy treats that were a hit with both adults and kids alike. The process was surprisingly simple, and the ability to control the ingredients made it all the more rewarding. These homemade gummies didn’t just taste great; they sparked conversations about memories, favorite flavors, and the magic of making something with your own hands.
Ingredients
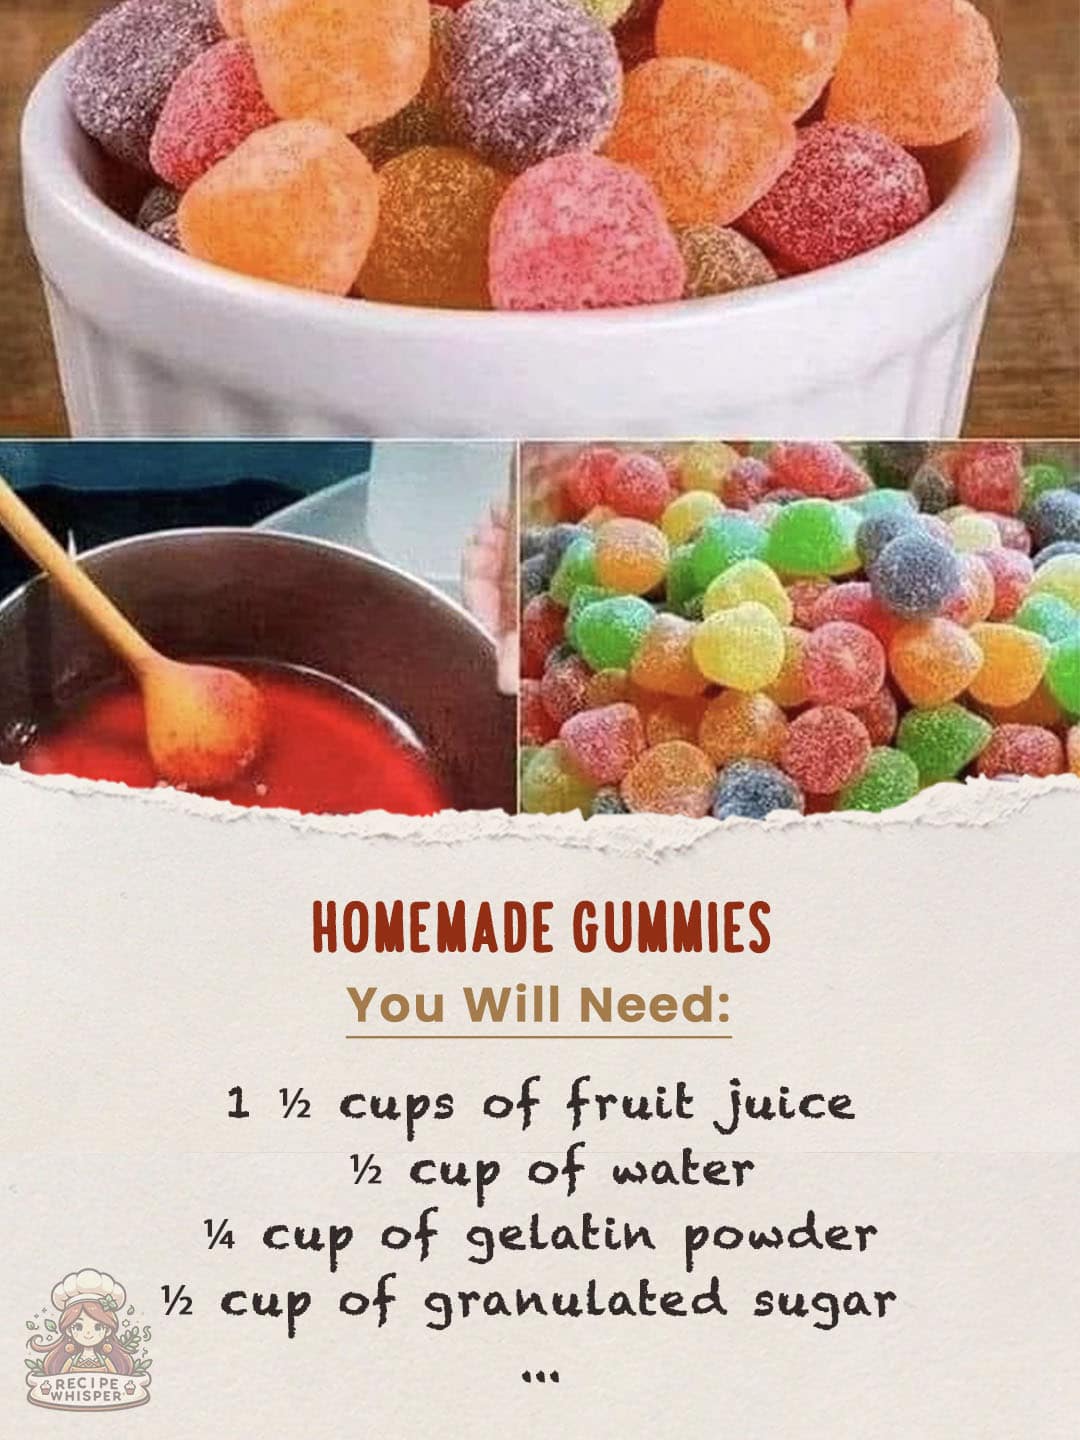
- 1 ½ cups of fruit juice (Avoid pineapple, kiwi, and papaya as they can affect gelling)
- ½ cup of water
- ¼ cup of gelatin powder
- ½ cup of granulated sugar (or honey to taste)
- Food coloring (optional)
- 1 tsp of citric acid (for tartness, optional)
- Additional sugar for coating (optional)
Instructions
- Lightly grease your molds with a neutral oil or non-stick spray. Alternatively, use a shallow pan for later cutting into shapes.
- In a saucepan, mix the fruit juice and water. Sprinkle gelatin over the mix to let it bloom and thicken.
- Warm the mixture on medium-low heat, stirring until the gelatin dissolves completely. Avoid boiling to preserve the gel’s consistency.
- Dissolve the sugar in the mixture. Add honey off the heat if preferred, to maintain its health benefits.
- For added color or tartness, mix in food coloring or citric acid now. Divide the mixture for multiple colors if desired.
- Fill the molds or pan with the mixture, using a dropper for molds to ensure precision.
- Refrigerate for at least 2 hours or until the gummies are firm.
- If set in a pan, cut the gummies into shapes.
- Optionally, roll the gummies in sugar or a sugar-citric acid mix for a sour finish.
- Store in an airtight container in the fridge for up to a week.
Nutrition Facts
- Servings: Varies depending on mold size
- Calories per serving: Varies based on ingredients (especially the choice between sugar and honey)
Preparation Time
- Prep Time: 15 minutes
- Setting Time: 2 hours
- Total Time: Approximately 2 hours and 15 minutes
Additional Tips
- Clear Gummies: For aesthetically pleasing, clear gummies, opt for white grape or apple juice.
- Flavor Variations: Experiment with different juices, extracts, or zests to create an array of flavors.
- Kid-Friendly Activity: Making gummies is a fantastic activity for kids, allowing them to choose flavors and assist in the preparation.
- Vegan Alternative: Use agar-agar powder instead of gelatin for a vegan version, though expect a slightly different texture.
- Gummy Storage: To prevent the gummies from sticking together, lightly coat them with cornstarch before storing.
FAQ Section
- Why avoid certain fruits like pineapple and kiwi?
- These fruits contain enzymes that break down gelatin, preventing the gummies from setting properly.
- Can I use artificial sweeteners instead of sugar or honey?
- Yes, but the amount may vary based on sweetness. Experiment with small batches to adjust.
- How can I make my gummies sour?
- Mix citric acid with the coating sugar for a tart, sour finish.
- What if I don’t have molds?
- Pour the mixture into a shallow pan and cut into shapes once set.
- Can I make these gummies without sugar?
- Yes, but they may be less flavorful. Consider adding natural sweeteners like stevia or flavored extracts.
- How do I prevent my gummies from being too hard or too soft?
- Ensure accurate measurements of gelatin and don’t overheat the mixture.
- Is there a way to make these gummies last longer?
- Storing them in the refrigerator in an airtight container extends their shelf life, but generally, they’re best enjoyed within a week.
- Can I add vitamins or supplements to these gummies?
- Yes, but add these after heating to preserve their benefits. Research the stability of supplements when heated.
- Why do my gummies have bubbles on top?
- Bubbles form from whisking or stirring too vigorously. Gently stir to minimize this.
- Can I freeze homemade gummies?
- Freezing can alter the texture, making them chewier. It’s not recommended unless you’re experimenting with textures.
Creating homemade gummies offers a delightful blend of science and culinary art, allowing for personalization and creativity. Whether you’re looking for a healthier alternative to store-bought snacks, a fun cooking project, or simply to indulge in a bit of nostalgia, this recipe provides a solid foundation for your gummy-making adventures.