Loaded Cheesy Pocket Tacos are a delightful twist on the traditional taco night fare, offering a creamy, cheesy, and utterly satisfying experience that is sure to delight the palate. This recipe became an instant favorite in my household, garnering approval from both the adults and the kids alike. Its combination of rich cream cheese, tangy salsa, and savory ground beef, all wrapped up in a crispy tortilla shell, strikes the perfect balance between indulgent and comforting. The melted cheddar cheese topping adds another layer of gooey goodness, making each bite a delectable journey through flavors and textures. Whether it’s for a casual family dinner or a fun gathering with friends, these Loaded Cheesy Pocket Tacos promise to be a crowd-pleaser.
Ingredients
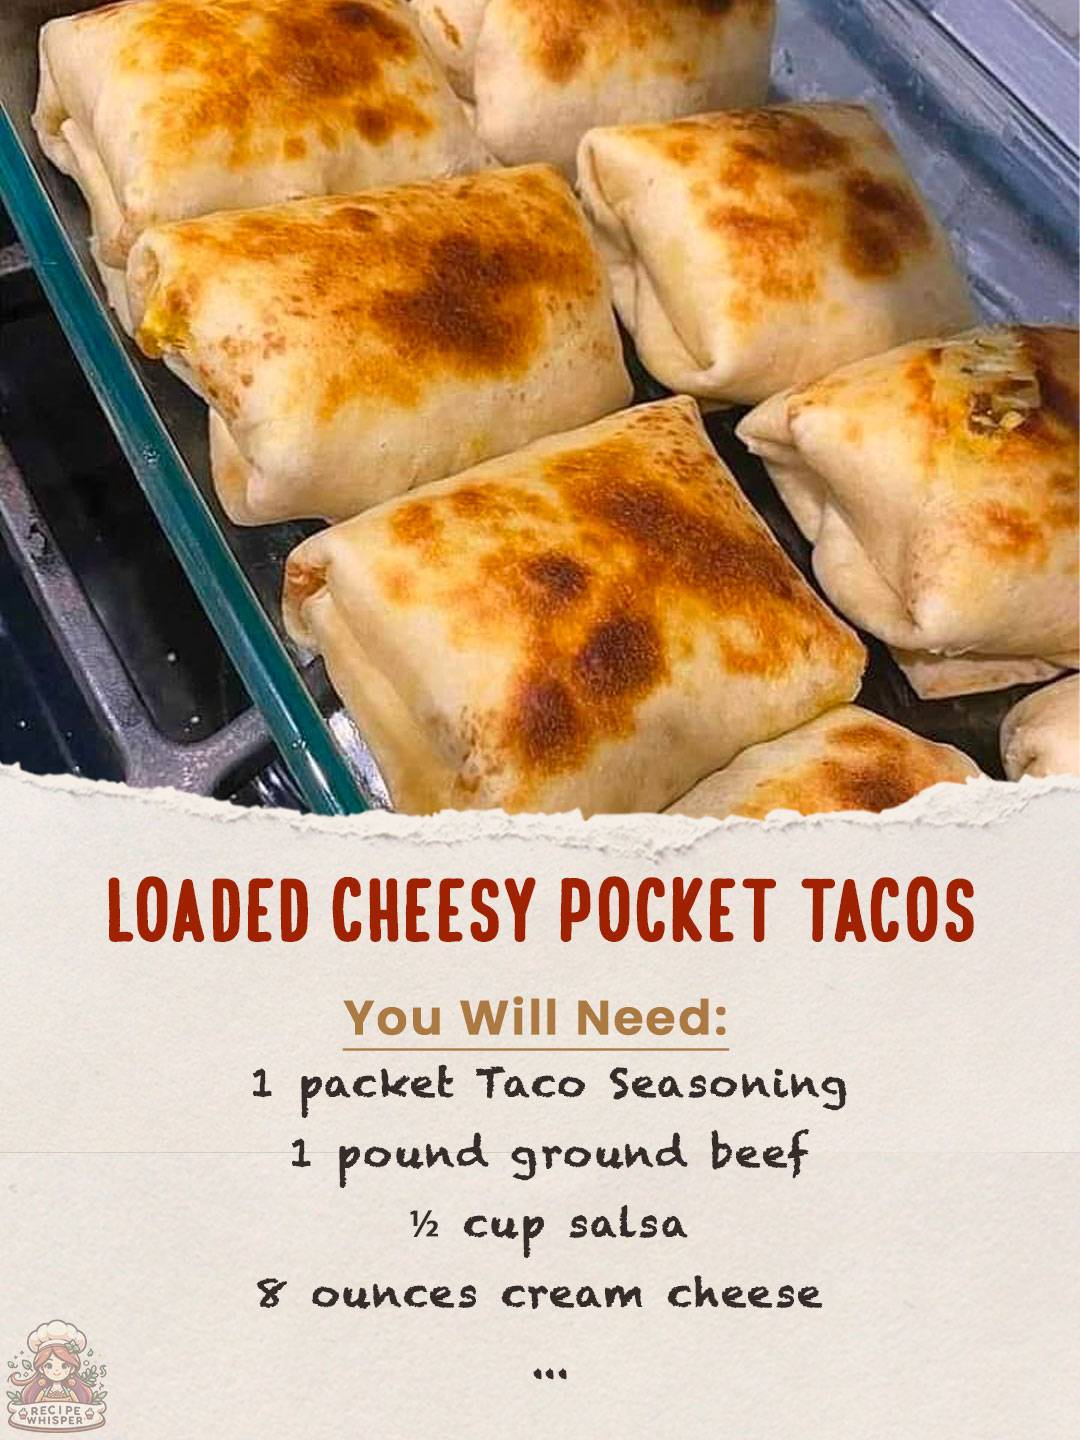
- 1 packet Taco Seasoning
- 1 pound ground beef
- ½ cup salsa
- 8 ounces cream cheese, softened
- 2 tbsp melted butter
- 1 cup Cheddar Cheese, shredded
- 12 6-inch tortillas
Instructions
- Crumble the ground beef into a skillet and cook thoroughly.
- Drain the grease from the skillet.
- Add in the packet of Taco seasoning mix, following the directions on the package.
- In a medium-sized bowl, beat the cream cheese until it is smooth.
- Add in the cup of salsa and blend well.
- While holding a tortilla, place a spoonful of cheese mix in the center of the tortilla.
- Place a spoonful of taco-flavored beef, to cover the salsa and cheese mix.
- Sprinkle with shredded cheese.
- Fold the tortilla and filling as you would with a burrito.
- Lightly spray a baking tray.
- Preheat the oven to 350°F.
- Place rolled tortilla onto greased tray.
- Brush the tops of the tortilla rolls with melted butter.
- Bake for 15 minutes.
- Remove from oven and add your choice of toppings, such as lettuce, salsa, sour cream, olives, more cheese.
Nutrition Facts
- Servings: 12
- Calories per serving: Approximately 350
Preparation Time
- Prep Time: 20 minutes
- Cook Time: 15 minutes
- Total Time: 35 minutes
Additional Tips
- Cheese Varieties: Feel free to experiment with different types of cheese for the filling or topping to customize the flavor profile.
- Tortilla Alternatives: For a healthier option, consider using whole wheat or corn tortillas.
- Serving Suggestions: Serve with a side of guacamole, rice, or beans for a complete meal.
- Storage: Store any leftovers in an airtight container in the refrigerator for up to 3 days. Reheat in the oven for best results.
- Make Ahead: Assemble the tacos ahead of time and refrigerate. Bake just before serving to enjoy them fresh and hot.
FAQ
- Can I use chicken instead of beef? Yes, cooked and shredded chicken can be used as a substitute for ground beef.
- Is it possible to make this recipe vegetarian? Absolutely! Replace the ground beef with a meat substitute or cooked and seasoned beans.
- Can I freeze the cheesy pocket tacos? Yes, you can freeze them before baking. Wrap each taco individually in foil and freeze. Bake from frozen, adding a few extra minutes to the cooking time.
- How can I make the tacos spicier? Add diced jalapeños to the cheese mixture or use a spicier salsa.
- What can I use instead of cream cheese? Ricotta or cottage cheese can be used as a lighter alternative to cream cheese.
- Can I use low-fat cheese? Yes, low-fat cheese works well in this recipe for a healthier option.
- How do I prevent the tacos from opening up while baking? Secure them with toothpicks before baking and remove them before serving.
- Can I add vegetables to the filling? Yes, adding diced bell peppers, onions, or tomatoes can increase the nutritional value and flavor.
- What should I do if the tortillas break while folding? Ensure the tortillas are at room temperature or slightly warmed to make them more pliable.
- Can I make these tacos gluten-free? Yes, use gluten-free tortillas to make this recipe suitable for those with gluten sensitivities.
Loaded Cheesy Pocket Tacos not only offer a delicious twist on a classic favorite but also provide an opportunity for customization to cater to various dietary preferences and tastes. With these tips and FAQs in mind, you’re well on your way to creating a memorable meal that’s as enjoyable to make as it is to eat. Enjoy the process and the delicious results!